Sunday, 10 May 2020
Getting Started with Kubernetes Engine
## Objectives
- Provision a Kubernetes cluster using Kubernetes Engine.
- Deploy and manage Docker containers using kubectl.
## Prerequisites
- Existing GCP Project
- Kubernetes Engine API and Google Container Registry API have been enabled
## Start a Kubernetes Engine cluster
In GCP console, on the top right toolbar, click the Open Cloud Shell button.
Click Continue.
Place the zone into an environment variable called MY_ZONE. At the Cloud Shell prompt, type this partial command:
```
export MY_ZONE=us-central1-a
```
Start a Kubernetes cluster managed by Kubernetes Engine. Name the cluster ``webfrontend`` and configure it to run ``2`` nodes:
```
gcloud container clusters create webfrontend --zone $MY_ZONE --num-nodes 2
```
It takes several minutes to create a cluster as Kubernetes Engine provisions virtual machines for you.
```
NAME LOCATION MASTER_VERSION MASTER_IP MACHINE_TYPE NODE_VERSION NUM_NODES STATUS
webfrontend us-central1-a 1.14.10-gke.27 35.223.99.22 n1-standard-1 1.14.10-gke.27 2 RUNNING
```
After the cluster is created, check your installed version of Kubernetes using the ``kubectl version`` command:
kubectl version
The ``gcloud container clusters create`` command automatically authenticated kubectl for you.
```
kubectl version
```
```
Client Version: version.Info{Major:"1", Minor:"14+", GitVersion:"v1.14.10-dispatcher", GitCommit:"f5757a1dee5a89cc5e29cd7159076648bf21a02b", GitTreeState:"clean", BuildDate:"2020-02
-06T03:29:33Z", GoVersion:"go1.12.12b4", Compiler:"gc", Platform:"linux/amd64"}
Server Version: version.Info{Major:"1", Minor:"14+", GitVersion:"v1.14.10-gke.27", GitCommit:"145f9e21a4515947d6fb10819e5a336aff1b6959", GitTreeState:"clean", BuildDate:"2020-02-21T
18:01:40Z", GoVersion:"go1.12.12b4", Compiler:"gc", Platform:"linux/amd64"}
```
View your running nodes in the GCP Console. On the Navigation menu (Navigation menu), click Compute Engine > VM Instances. Your Kubernetes cluster is now ready for use.

## Run and deploy a container
From your Cloud Shell prompt, launch a single instance of the nginx container. (Nginx is a popular web server.)
```
kubectl run nginx --image=nginx:1.10.0
```
In Kubernetes, all containers run in pods. This use of the kubectl run command caused Kubernetes to create a deployment consisting of a single pod containing the nginx container. A Kubernetes deployment keeps a given number of pods up and running even in the event of failures among the nodes on which they run. In this command, you launched the default number of pods, which is 1.
> Note: If you see any deprecation warning about future version you can simply ignore it for now and can proceed furthe
View the pod running the nginx container:
```
kubectl get pods
```
```
NAME READY STATUS RESTARTS AGE
nginx-fb9c7b94d-p7x4x 1/1 Running 0 2m32s
```
Expose the nginx container to the Internet:
```
kubectl expose deployment nginx --port 80 --type LoadBalancer
```
```
service/nginx exposed
```
Kubernetes created a service and an external load balancer with a public IP address attached to it. The IP address remains the same for the life of the service. Any network traffic to that public IP address is routed to pods behind the service: in this case, the nginx pod.
View the new service:
```
kubectl get services
```
```
NAME TYPE CLUSTER-IP EXTERNAL-IP PORT(S) AGE
kubernetes ClusterIP 10.51.240.1 443/TCP 5m42s
nginx LoadBalancer 10.51.242.185 80:31576/TCP 15s
```
You can use the displayed external IP address to test and contact the nginx container remotely.
It may take a few seconds before the External-IP field is populated for your service. This is normal. Just re-run the kubectl get services command every few seconds until the field is populated.
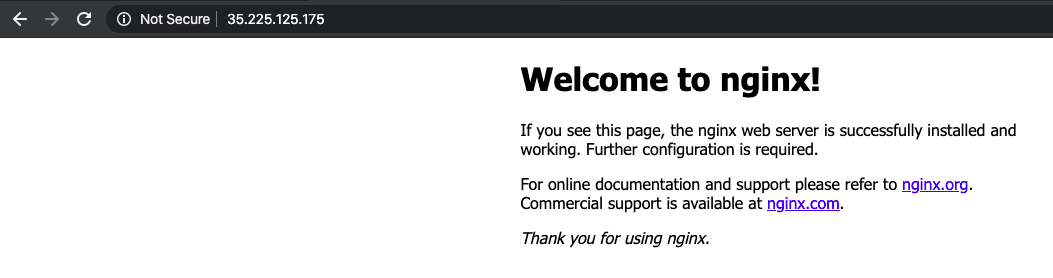
Open a new web browser tab and paste your cluster's external IP address into the address bar. The default home page of the Nginx browser is displayed.
Scale up the number of pods running on your service:
```
kubectl scale deployment nginx --replicas 3
```
```
deployment.extensions/nginx scaled
```
Scaling up a deployment is useful when you want to increase available resources for an application that is becoming more popular.
Confirm that Kubernetes has updated the number of pods:
```
kubectl get pods
```
```
NAME READY STATUS RESTARTS AGE
nginx-fb9c7b94d-p7x4x 1/1 Running 0 3m51s
nginx-fb9c7b94d-qvm4b 1/1 Running 0 18s
nginx-fb9c7b94d-sk4rm 1/1 Running 0 18s
```
Confirm that your external IP address has not changed:
```
kubectl get services
```
```
NAME TYPE CLUSTER-IP EXTERNAL-IP PORT(S) AGE
kubernetes ClusterIP 10.51.240.1 443/TCP 6m53s
nginx LoadBalancer 10.51.242.185 35.225.125.175 80:31576/TCP 86s
```
Return to the web browser tab in which you viewed your cluster's external IP address. Refresh the page to confirm that the nginx web server is still responding.
Subscribe to:
Post Comments (Atom)
No comments:
Post a Comment